The pandemic has changed our daily life, we should minimize outdoor activities to prevent ourselves and our family affected by Covid-19. In this case, many onsite events we usually find during pre-pandemic have been transforming become hybrid and virtual events. The technology in this digital era allows us to stay productive in gaining new knowledge and information through a webinar.
A webinar is an event held virtually which is attended exclusively by an online audience. We often find flyers and advertisements about webinars on social media which provide e-certificate for the participants. Do you know how to create an interesting e-certificate and distribute them to hundreds or even thousands of participants?
Let’s check this out! We are going to reveal behind the scenes of successful webinars which provide you with an interesting e-certificate. It will be very useful if you are a committee of event organizer in your college or any organization.
Here are tips and tricks on how to design and send e-certificates automatically:
- Master design, the event will be more eye-catching if all branding materials are in line with the theme of the event including the e-certificate. So you can develop the design from the master design. Make sure you have a raw file of the master design.
- Explore your ideas, we recommend you to explore more on social media or websites related to graphic design such as Freepik, Dribbble and others. Through the explorations, you can come up with new ideas to create e-certificate designs.
- Make sure your font color contrasts with the background, designing is how we communicate through the image, the audience should be able to read and understand the information on your e-certificate. Differentiating the font color with the background can make your writing clear and easy to read. But make sure the color is still in line with other branding materials.
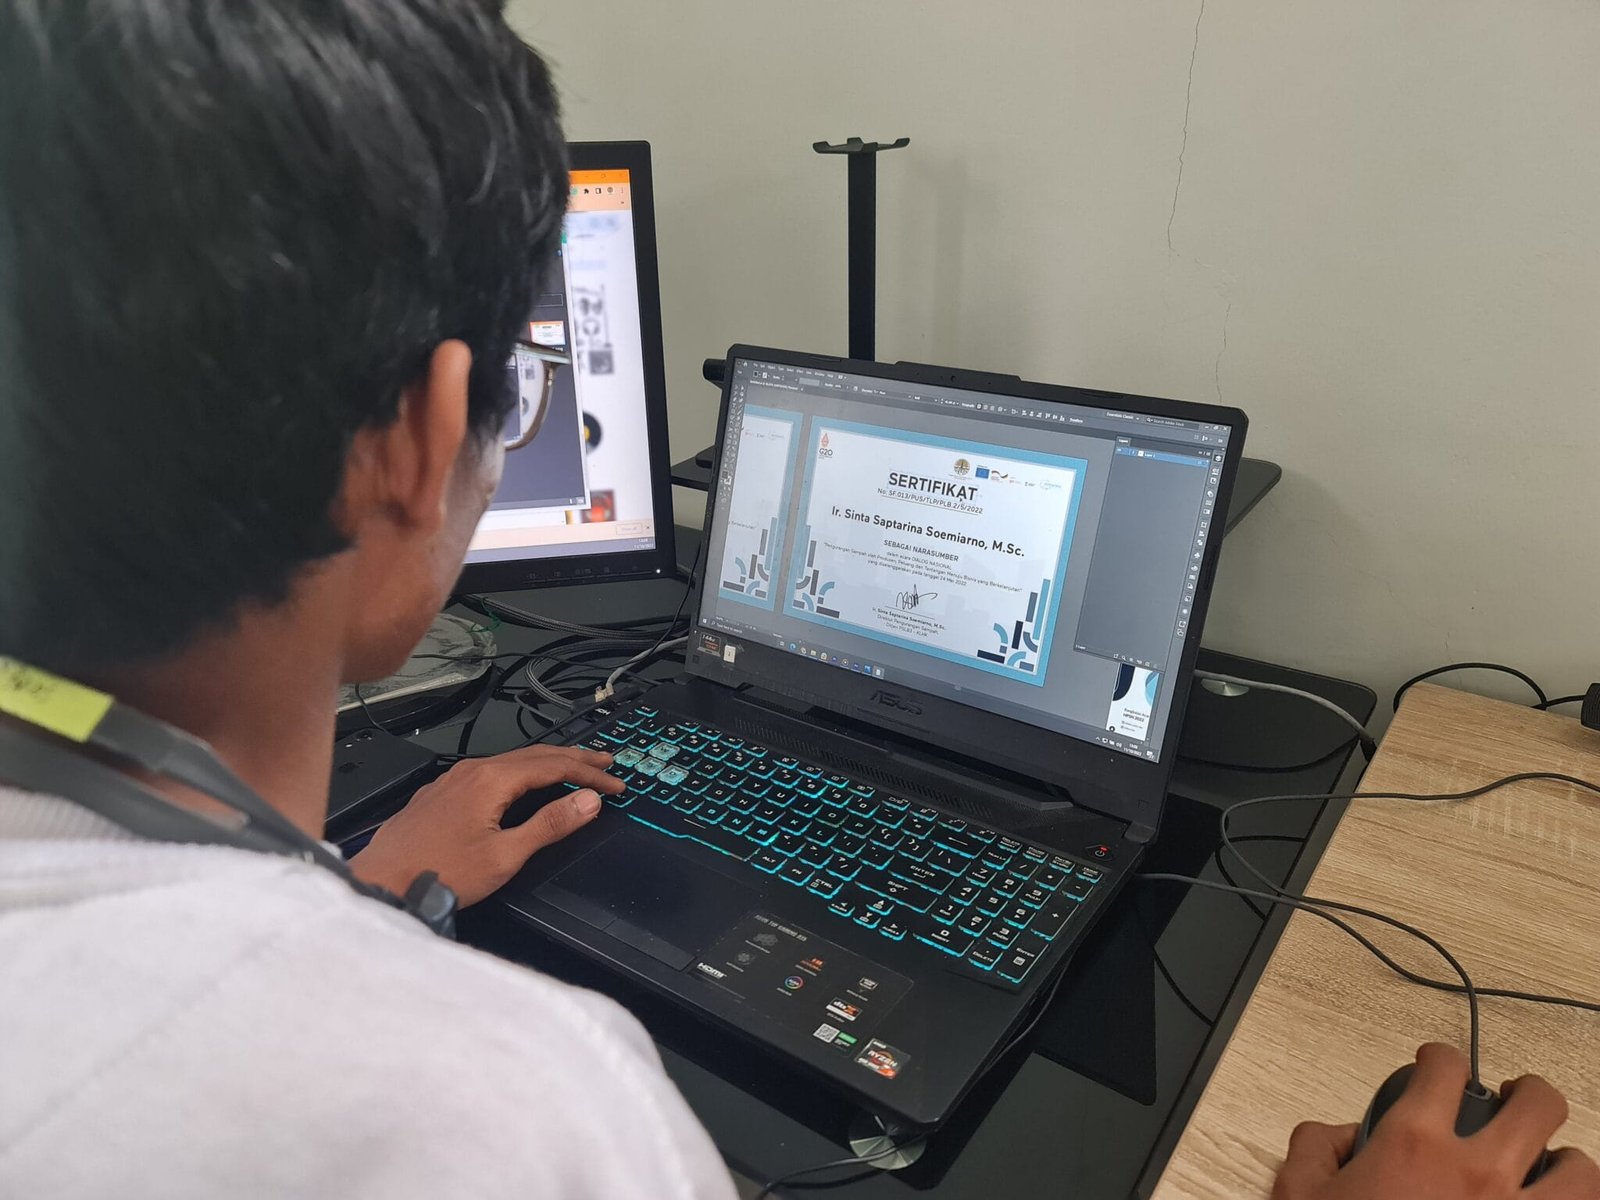
- Approval and signing, If your design has been approved by the clients, now can add the signature on the e-certificate digitally or the wet signature. If it uses a wet signature you need to scan it after the signing process.
- How to send the e-certificate to thousands of participants automatically, After the signing process, it’s time to distribute the e-certificate. It must be tiring sending emails one by one to a thousand participants. But, don’t worry! We can send them automatically using Autocrat. How to do it? Check the tutorial on Instagram @bahasaglobal 😊 you can also request and check other tutorials on our Instagram account @global_virtualevents.
Don’t forget to follow and like our posts! Good luck, and we hope it helps.

